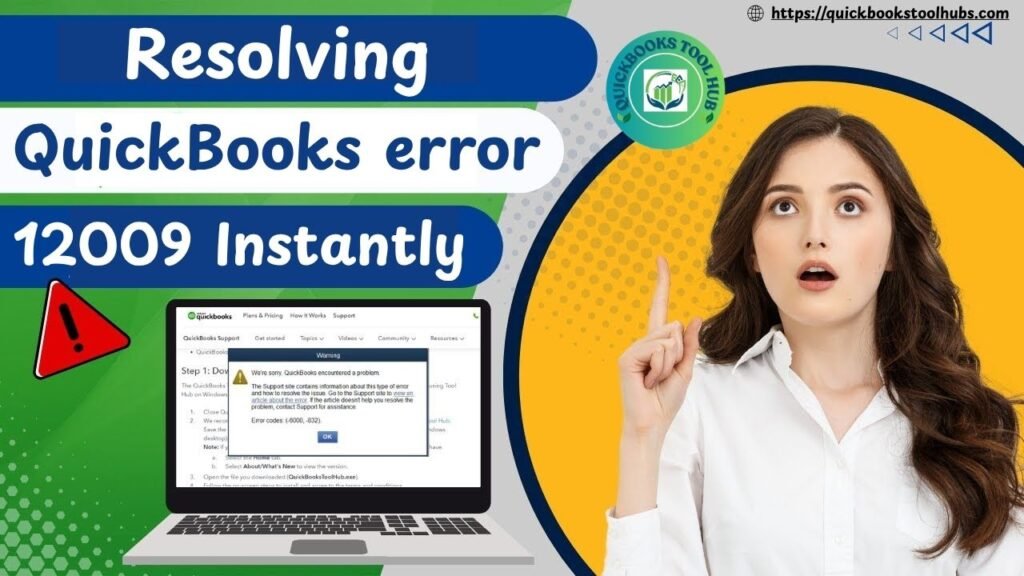
QuickBooks Error 12009 occurs when QuickBooks fails to use the network connections on your PC. This could be due to a timeout of the network or a slow net association. Subsequent error codes may appear as soon as you try to transfer QuickBooks payroll or updates:
- QuickBooks Error 12009
- QuickBooks Error 12007
- Error 12029 QuickBooks
- QB Error 12009
Before starting with the troubleshooting method, it is essential to discuss the causes of QuickBooks Error 12009. So, let us get started and solve the problem effectively. If you face any kind of error, you can contact the support team of QuickBooks.
Reasons behind QuickBooks Error Code 12009
- Failure to set SSL leads to “Code Error 12009”
- You may not have a net mortal as your default browser.
Methods to Resolve QuickBooks Error 12009
There are many different ways to resolve the problem quickly, using the “Error Code 12009” solution.
Method 1:
- First of all, shut down QuickBooks and open the net.
- Choose Tools now and choose Net Choices.
- Next, opt for the protection tab and make sure that the protection setting is medium-high.
- Then click on the world icon and choose the Content tab.
- You need to make sure that the content advisor button is changed.
- Next, go to the Connections tab and complete the steps listed below.
- Choose not to dial an association.
- Make sure you simply opt for the correct ISP and click OK.
- Then you have to choose the LAN Settings option.
- Check that the checkbox to find the settings is enabled.
- If you see port 8o, uncheck the box.
- Finally click OK.
- The Advanced tab must be selected now:
- Click the Restore Advanced Settings option.
- Search Use TLS one.0, use TLS 1.1, and use TLS one.2
- Ensure that the use of TLS one.0 is checked and that the others are also unrestricted.
Method 2:
- The first step is to make it easier, then click the Net Connection Setup button.
- Choose “Use my computer network membership settings while the software has internet access to create the association.”
- Repeat the update:
- QuickBooks 2006 and previous versions: choose File and click Update QuickBooks >> Update Current tab.
Method 3:
- Now, click the Net Connection Setup button.
- Click on and finish the next button.
- Update again to check whether or not the problem has been corrected.
Method 4:
- The first step is to click on the current update tab.
- Choose the Reset Update checkbox now.
- Click on the option Get Updates, and if the update fails, follow the following steps:
- Click the Restore Advanced Settings option.
- Search Use TLS one.0, TLS 1.1, and TLS 1.2.2
- Ensure that the use of TLS one.0 is checked and that the others are also unrestricted.
To get rid of QuickBooks Error 12009, you must follow the steps mentioned above in the correct order. To get more information, please contact us now.